So, today it is Thursday and that means reminder time for this fortnights challenge at Crafty Ribbons Challenge...
Here is my make for Kelly's Love/Romance/Anniversary Challenge.

I nabbed this idea from Kira (seriously talented!)

It's a button book that concertinas open to reveal a message of love.

The buttons are from Crafty Ribbons Christmas Berry button box.

On the front and back of the book pages I randomly inked and painted and stamped, basically I got really messy which made me really happy!! :)
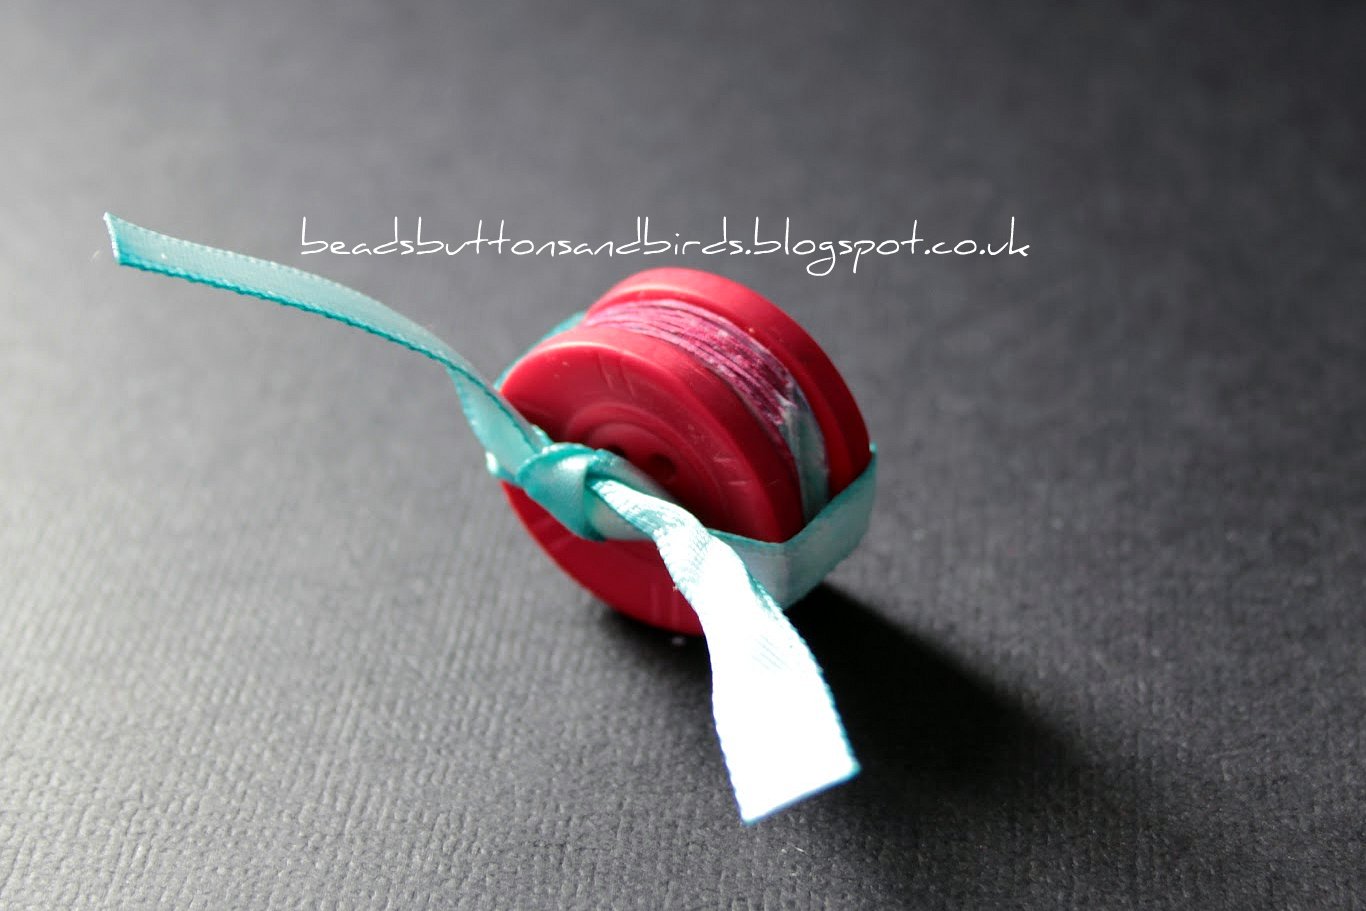
To tie it all up I dyed a piece of scrap bag ribbon with some of the left over India Ink I had coloured the paper with. It was an easy process - I screwed up the ribbon and dipped it in the pallet, pulled it out and squeezed out the excess, lay it flat on my craft mat and spritzed it with water. The water worked it's magic and left me a mottled finish - perfect!

Seeing as I don't have a man in my life to spoil and send soppy love gifts to (insert sad face and sigh here!!) I made this for my Mum. She is pretty awesome but she doesn't believe it. I picked qualities that my Mum has and wrote them on the back.

On the front I stamped I LOVE YOU and used part of the branding on some Maya rub-ons to add 'for a lifetime' (Their slogan is 'for the journey of a lifetime' I reckon I can use the 'the journey of' on a layout... I never throw anything out!!)

I jazzed up the stamped letters with my fine liner...

So much fun. I need to make more of these!
I'd like to enter this in to Anything but a card - tie it up & Crafters Cafe - Anything goes
Thanks for stopping by and don't forget to enter a creation in the love themed challenge!
Fab idea.
ReplyDeleteThis is fabulous Laura - what patience you have to put so much detail into such a small item.
ReplyDeleteKath x
Love your button book. It's so dang cute!
ReplyDeleteHi Laura,
ReplyDeleteThanks for stopping by my blog today.
That has to be the cutest mini book ever : )
How clever! Love the idea!! So glad you joined us this month at The Crafter's Cafe Challenge Blog! Hope to see you again next month! Just as an FYI - We are doing a DT Call...
ReplyDeleteHugs,
Karen C (DT coordinator)
I noticed the DT call, I'd love to apply but right now my health isn't good enough to cope with two DT's. Maybe next time around! Thanks for letting me know though :)
DeleteThis is such a great idea! I love it! Thanks for joining us for challenge #12 at The Crafter's Cafe Challenge Blog. See you again soon! Patti
ReplyDeleteGorgeous creation Laura :-) I love this idea ,, CUTE as a button !! :-)
ReplyDeleteluv
Lols x x x
What a fab little book. You could use this so many ways.
ReplyDeleteLove it xx
Nelle #33
This is sooo clever and I love it! I've never seen a button book before and I think it's made more wonderful by your journalling on some of the little pages.
ReplyDeleteI need to pin this idea!
Thanks so much for joining us at Anything But A Card this time.
Julia
This is fabulous! I will definitely have to try this design technique. Thanks for the link! Your project is wonderfully executed! Thanks for joining us here at the Crafter's Cafe Challenge Blog!
ReplyDeleteHugz,
Chana
ThIs is wonderful. I have never seen a button book. A great idea. Thanks for joining us at The Crafter's Cafe Challenge Blog. Hope you will join us again. Angela.
ReplyDeleteThis is super cute :)
ReplyDeleteThis could simply not be cuter or more clever! AWESOMENESS!!!! :) :) Thanks for joining us at Anything But a Card!!! :) :) :)
ReplyDeleteThis is just adorable! Thanks for the inspiration!
ReplyDelete