I won the chocolate challenge at Quirky Crafts a couple of weeks back and part of the prize is the honour of being guest designer. Here is my make...
The theme is Make A Quirky Mess - right up my street!!


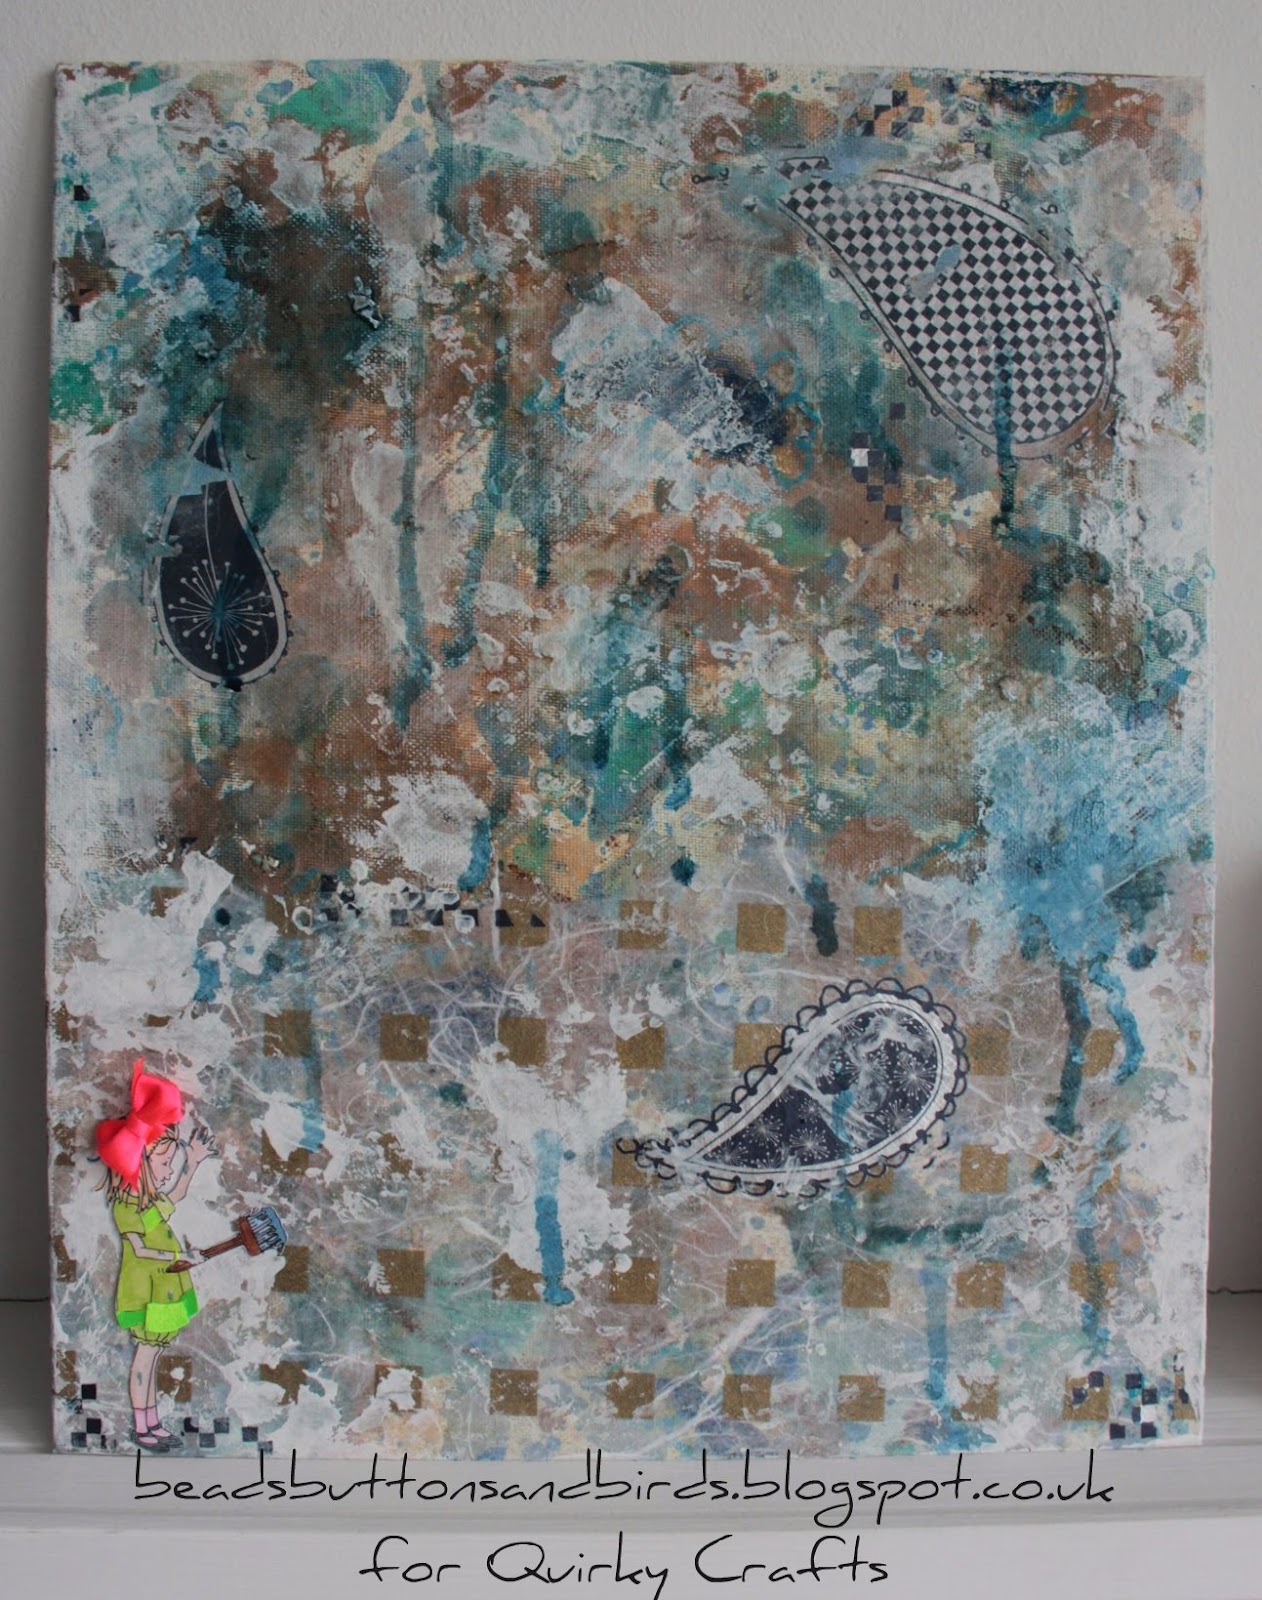
 Here are a few photos of the layering process. I meant to take more step by step photos but *sigh* you know how it is... I just got carried away painting and creating that I completely forgot to stop a take a photo of each layer. This is a bit of a self portrait really. This little girl [I've renamed her Laura ;)] has painted this canvas and made a hell of a mess whilst she was at it. She used acrylic paints, ink, gesso, mists, oil crayons, mulberry tissue, matte medium and rub ons on the canvas board.


I've coloured the Squigglefly 'digi-me' with watercolour pencils, fuusy cut (but not very fussily looking at the close up!!) and added Crafty Ribbons neon ribbon to her dress and hair. To make the self portrait accurate she is also covered in ink and paint from the canvas... she even has some in her hair :) Honestly it has happened before!! I've also added a neon bracelet to her right arm to make it spot on!

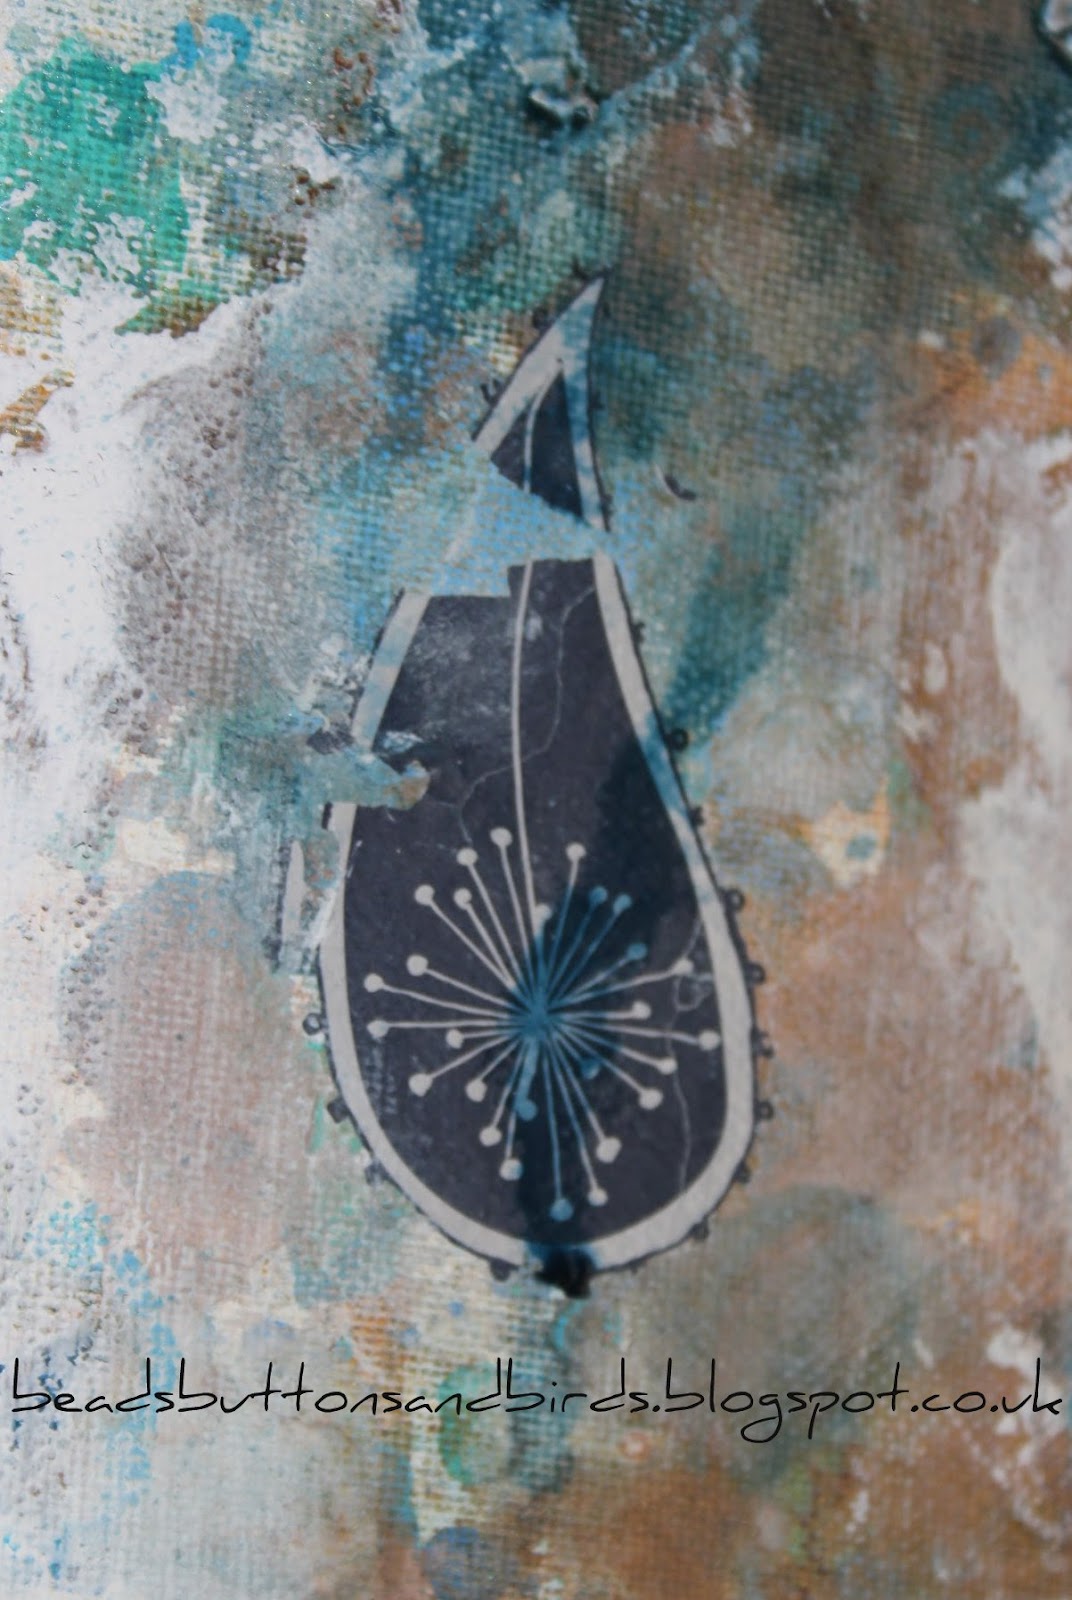


A few more close ups of the mess!!
I want to thank Quirky Crafts for having me as their Guest Designer for this challenge :)
Thanks for stopping by
Laura
That's so lovely Laura, your attention to detail is amazing! XX
ReplyDeleteWhat a fantastic background, love that colour combination
ReplyDeleteRosie x
I love it. The little girl with the brush really sets it off.
ReplyDeleteThanks for being a Guest Designer at Quirky, love your canvas and mini Laura!
ReplyDeleteCazzy - on behalf of the Quirky Crafts Challenge Blog DT.