
*atchoo*


Bless you!

Crafty Ribbons new owl ribbons are lovely - happy, colourful and cute.  I wanted to make something that I could use a long length of the ribbon to really show it off - I really didn't want to cut it up!!  So...


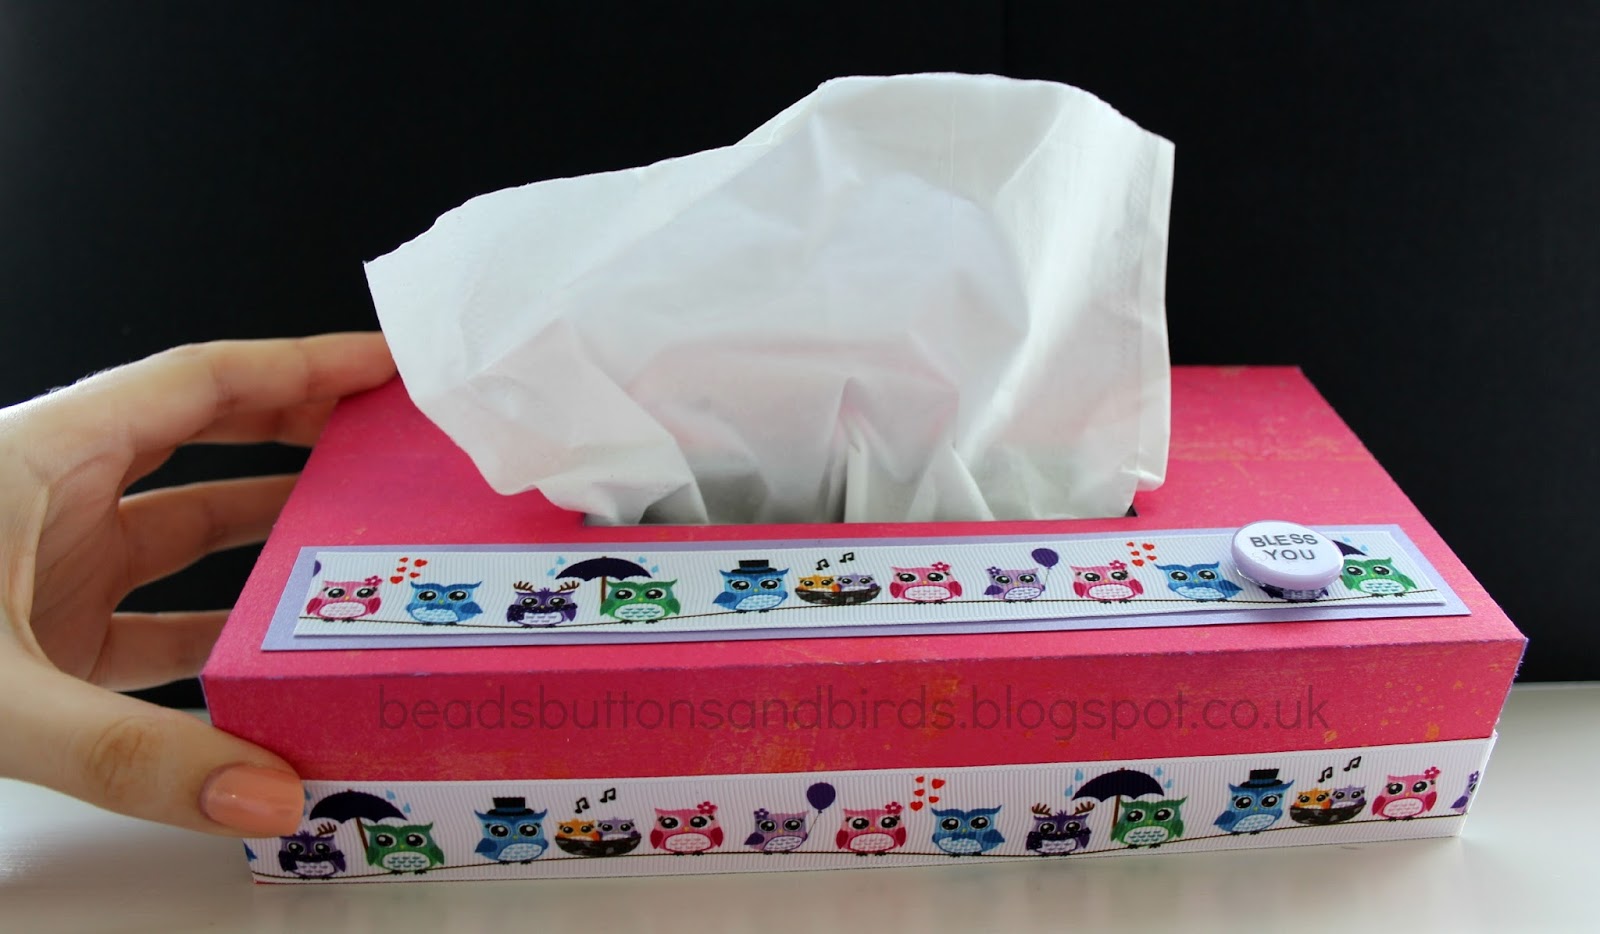
...here is a tissue box!

I took a regular tissue box and measured it, then with a sheet of 12x12 paper I made a sleeve to fit over the box.  I attached mine underneath - if you do this with repositionable glue you can simply take the sleeve off and stick on to a new box when the tissues run out.


I decorated the top with a strip of owl ribbon mounted on to some lilac paper.  Then, and I was really excited by this, I used rub ons to write bless you on to a flat button.  I didn't know rub ons worked on buttons, but they do and they are really effective!  I glued the button on with pin flair glue gel.


This is on display on Crafty Ribbons exhibition stand.  It's been to Glasgow and Olympia and I think the NEC too :)

Thanks for stopping by!

Comments

Post a Comment

Thank you for taking the time to comment.
I love to read your messages...

Popular posts from this blog

WOYWW 159

Hello, Happy Whats On Your Workdesk Wednesday !  As promised a picture of last Wednesdays 'work' finished off.  Post and more photos here . This week I'm showing off the beaded ATC I made... Tricky to photograph so your getting one with flash and one without... It was all parcelled up and sent off to Queen of Desks Julia .  Here is a basic of how it was made... (lots of waffle about wefts and warps!) I use a flexible beading needle.  It is mainly 'eye' so it is very easy to thread. And delica beads which are more regular and accurate than the better known seed bead.  They are slightly more rectangular than round so they line up better. Thread your needle with the weft thread.  (The cross ways thread that weaves back and forth.)  Pick up the beads... Pass the needlefull of beads underneath the warp (tight length ways) threads on the loom... ...and push each bead up in the corresponding g

Hoppity!

Hoppity hoppity!!  :) Hopeful you have arrived here from Fleur 's blog as part of the Crafty Ribbons Easter Hop .  If not and you've found yourself here wondering what on earth I'm on about (and let’s face it J you wouldn’t be the first!!) check out the Inspirations site for all the juicy details! My project for the hop is         Easter bunting!  I cut three templates first - a triangle pennant, a bird and a heart.        Then I cut the pennant shapes from fibre ribbon, threaded them on to some 3mm satin and evenly spaced them.  I embellished each flag with some beads...       I backed the birds and heart on some thin white card and glued them to the centre of the pennants.   My supplies list: yellow fibre , pink fibre , lime fibre , 3mm satin , button box , white card, glue, beads, needle and thread.   At each stop on the hop there'll be a word to collect and a candy draw. I've got these

WOYWW & Card Deck Swap

First up is my desk ... Hmm.  Perhaps the less said the better!  I really should have a sort out but I fancy desking instead! Next I want to share my card deck swaps (deskers don't have to stay for this bit but I reckon you'd enjoy joining in with us, which is why I'm including it in this post) You can read about the swap here on Jessica's blog and sign up here .  Basically, we take a deck of cards, add paint and/or paper, then add a positive sentiment to each card.  Post them to Jessica who shuffles them and sends back 52 different cards from different artists (yes, you are an artist!) from all over the world. These few are ones I have picked out to display first.  I'll swap them round after a few weeks.  Do you like my domino pegs?  :) Thanks for stopping by.  I hope you'll at least consider joining us for the card swap - it's like a super sized ATC swap, and all WOYWW er's know they are fun! See you at your desk x