
The one Bea made for me!!


I'm calling this layout 'the one Bea made for me' - let me explain...  Bea Valint made an amazing cut file.  I was a little bit too lazy to cut it 'actual size' as it is such an intricate file, I knew I wouldn't be up to getting it off the cutting mat in one piece!  So I enlarged it and cut a portion of it.  When I got it off the mat it was so gorgeous that the layout practically made itself!


I splashed some watercolour around on the background to give the cut file something to sit on.  I then stared at it for a good ten minutes - so pretty!!


I picked a photo of me gardening.  Mum and Dad put a table over my wheelchair and brought all the pots and compost to me so I could join in.  It was the first time I had been outside in ages and it was so good to get dirty hands!


I used a few stickers, enamel dots (from the latest like for ever kit) and matching thread to embellish a little.


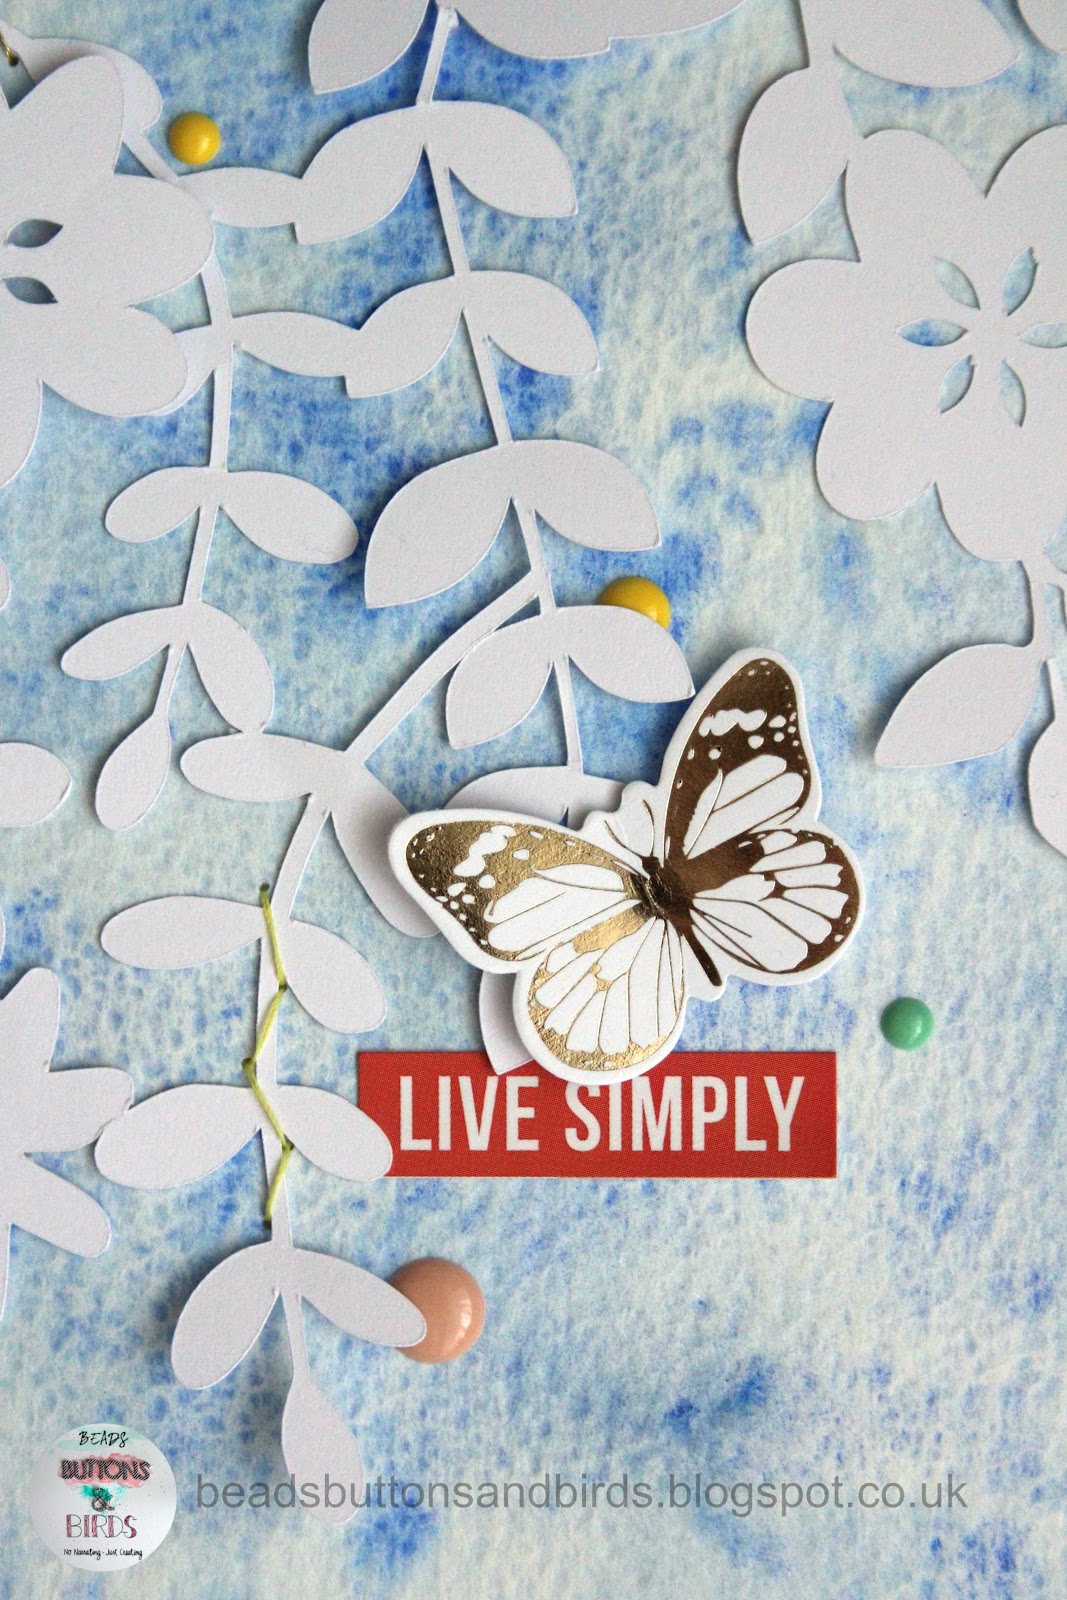
I kept it simple because it was all it needed!


Thanks for dropping by!

Comments

  1. Hi Laura, This LO perfect.

    Hope you've had a lovely weekend. Sue

    ReplyDelete

Post a Comment

Thank you for taking the time to comment.
I love to read your messages...

Popular posts from this blog

Hoppity!

Hoppity hoppity!!  :) Hopeful you have arrived here from Fleur 's blog as part of the Crafty Ribbons Easter Hop .  If not and you've found yourself here wondering what on earth I'm on about (and let’s face it J you wouldn’t be the first!!) check out the Inspirations site for all the juicy details! My project for the hop is         Easter bunting!  I cut three templates first - a triangle pennant, a bird and a heart.        Then I cut the pennant shapes from fibre ribbon, threaded them on to some 3mm satin and evenly spaced them.  I embellished each flag with some beads...       I backed the birds and heart on some thin white card and glued them to the centre of the pennants.   My supplies list: yellow fibre , pink fibre , lime fibre , 3mm satin , button box , white card, glue, beads, needle and thread.   At each stop on the hop there'll be a word to collect and a candy draw. I've got these

WOYWW 159

Hello, Happy Whats On Your Workdesk Wednesday !  As promised a picture of last Wednesdays 'work' finished off.  Post and more photos here . This week I'm showing off the beaded ATC I made... Tricky to photograph so your getting one with flash and one without... It was all parcelled up and sent off to Queen of Desks Julia .  Here is a basic of how it was made... (lots of waffle about wefts and warps!) I use a flexible beading needle.  It is mainly 'eye' so it is very easy to thread. And delica beads which are more regular and accurate than the better known seed bead.  They are slightly more rectangular than round so they line up better. Thread your needle with the weft thread.  (The cross ways thread that weaves back and forth.)  Pick up the beads... Pass the needlefull of beads underneath the warp (tight length ways) threads on the loom... ...and push each bead up in the corresponding g

DMIO: Teach Me Something

A few weeks back I made a dream catcher.  A few readers asked if I could show them how I made it, so, here is my attempt at a tutorial! First up weaving the web. 1. You'll need a hoop and some ribbon/thread/yarn on a bobbin. 2. Attach the ribbon securely to your hoop. 3. Take your ribbon over the top of the hoop... 4. and up through the loop you've just made with the ribbon... 5. so you have a cross over. 6. Continue steps 3-5 until you reach the knot. 7. Now instead of going over the hoop you will crossover the ribbon 8. and through the loop you've just made to give a crossover. Continue on in this fashion until you get to the middle. You need to leave a hole in the middle as this is where the good dreams get through!  They then run down the tassels/feathers/any other hanging decoration and on to the owner.  It should look something like this.  You'll need to play around with your tension until you get a firm web. Now for the tassels - I like to