In the mood for a mood board that is!
Have you seen SpiegelMom Scraps January challenge over in 15 Minutes to Scrap? It has been set by the lovely Hannah Lemieux and it is to use this mood board as inspiration. Hannah also asks us to pay particular attention to textures and use one of the textures displayed in the mood board.
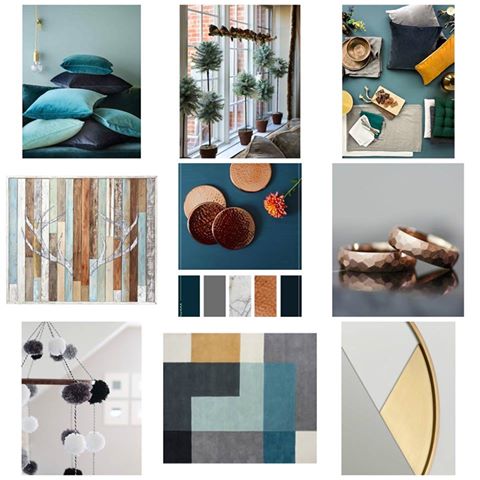
When I start scrapping based on a mood board the first thing I notice are the colours. I adore these colours - rich teals, metallics and greys are what stand out to me most. However, you could also run with duck egg, wood, and white with a pop of mustard.
Next, I notice the finishes - wood grain, velvet, hammered metal and - my favourite - woollen pompoms. Seeing as Hannah specified texture I thought I would attempt to make some mini pompoms for my layout. After five attempts I came up with something usable and gathered some other supplies...
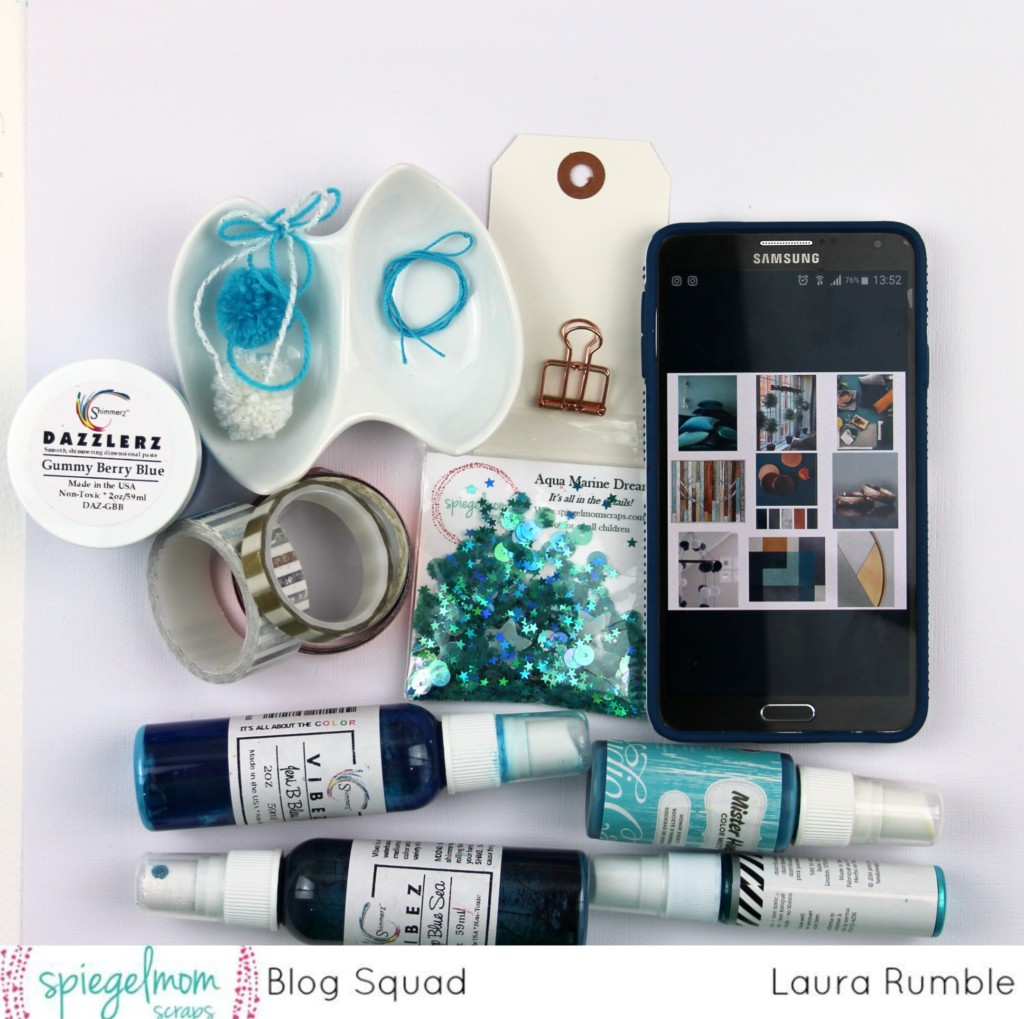
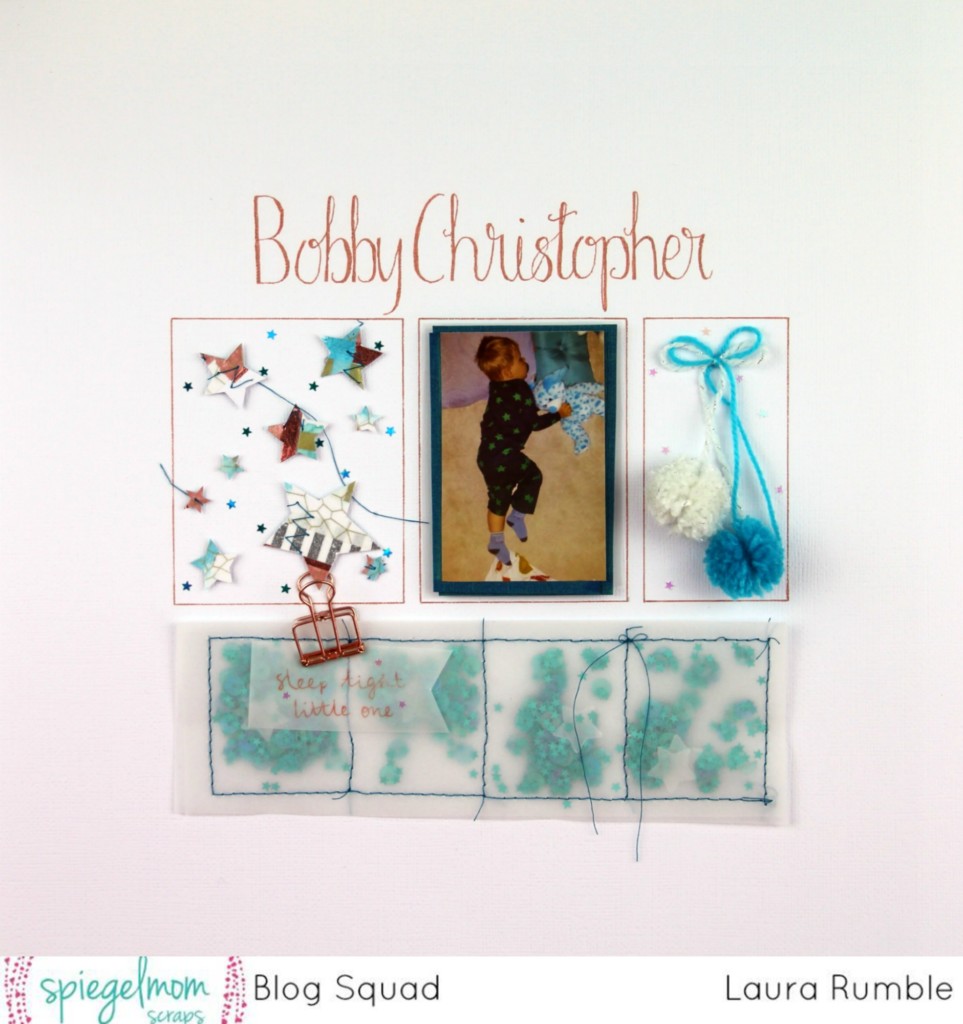
I knew I wanted to make a segmented sequin shaker pocket from vellum. My vellum has a slightly grey tinge to it which I thought matched the mood board colour scheme perfectly.
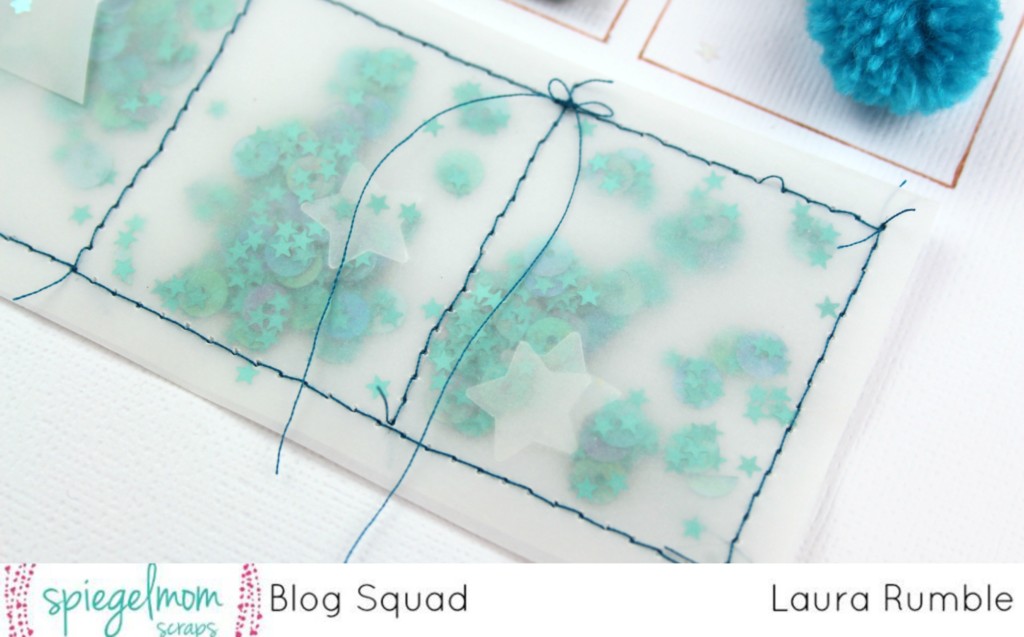
I pulled out my sewing machine and the darkest teal shade of thread I had and made a film strip style pocket stuffed with aqua marine dream sequins.
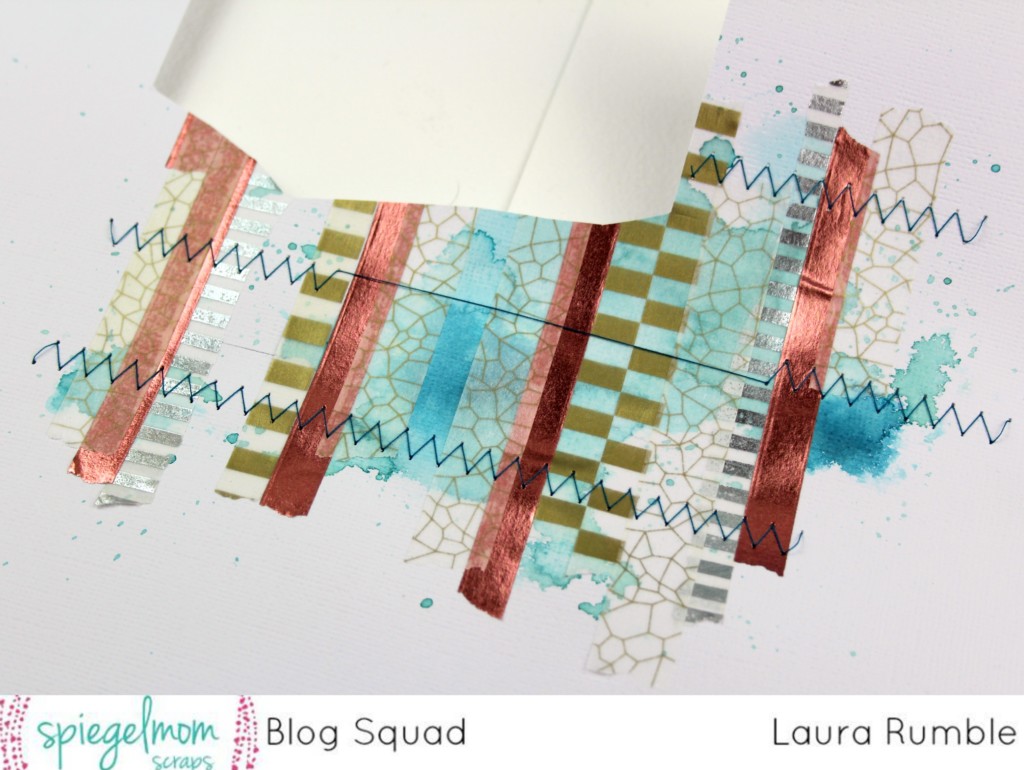
I started working on a mixed media background combining metallic washi tapes and inks. The trouble was I couldn't make it work as a big piece...
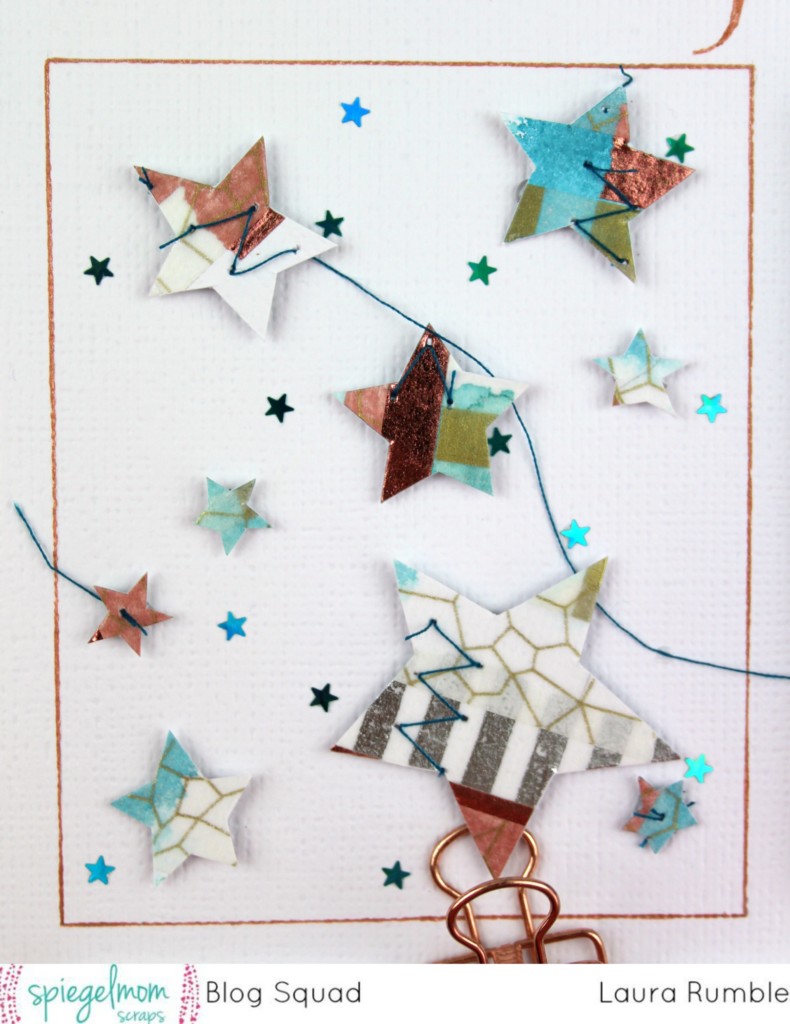
No problem, though - it had all the right colours and textures to work with the theme it was just too big. The solution was to cut it down into smaller pieces. I plumped for the star shape as it matched both the photo and the sequins.
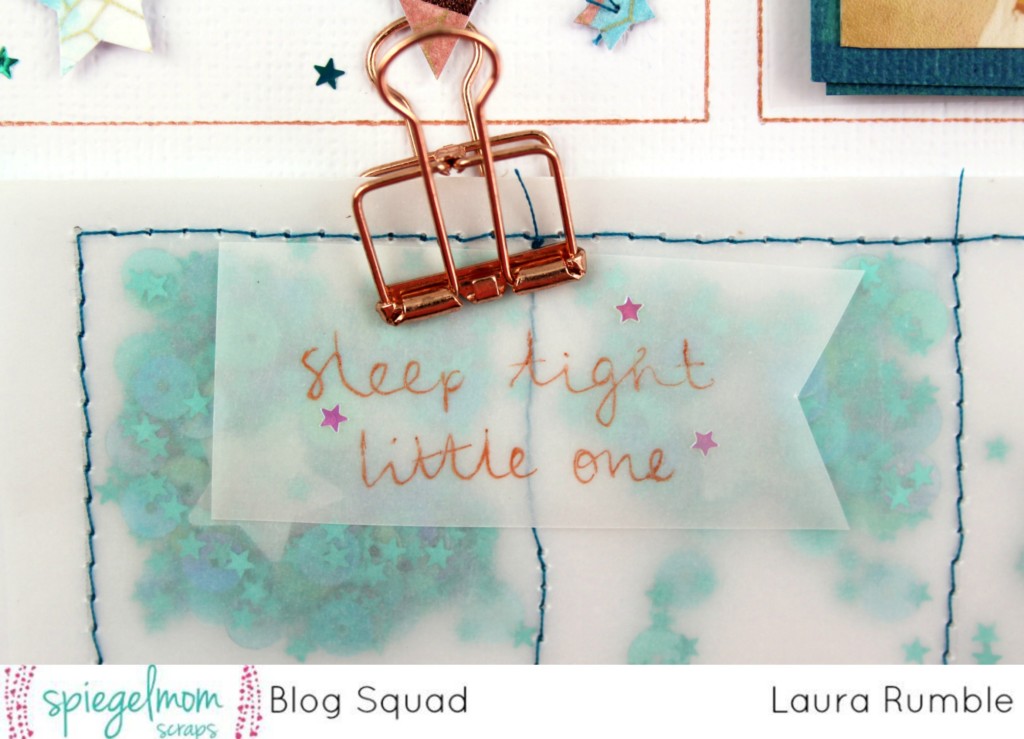
As I worked with my ingredients and referred back to the mood board I was inspired to go for a segmented look... the board has 9 boxes, but also looking at the middle column you have window panes, rectangles of colours in the swatch and geometric areas of colour in the art work.
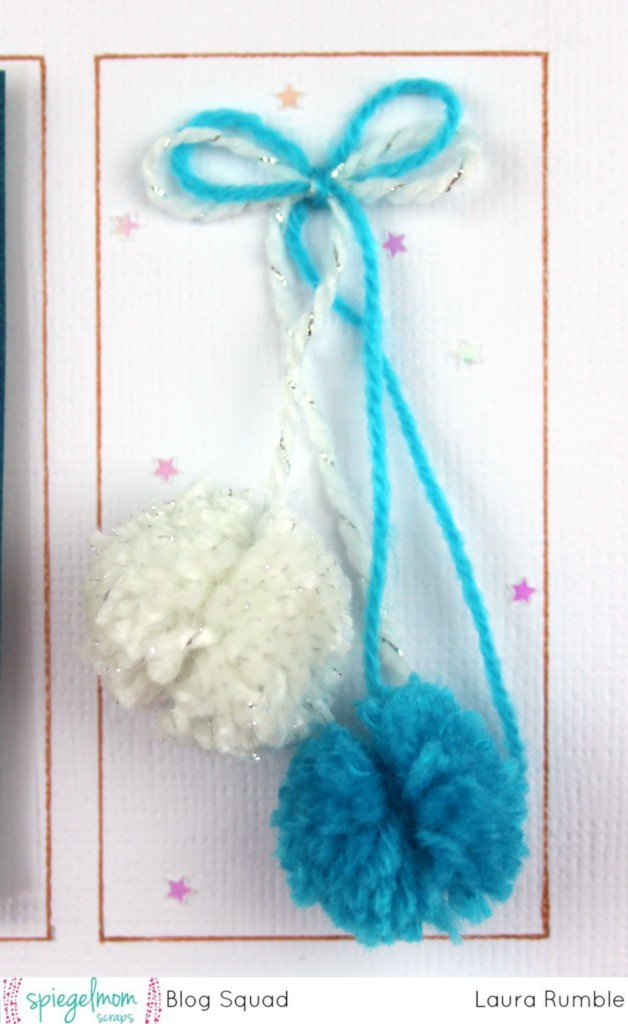
This also gave me the opportunity to add copper pen work.
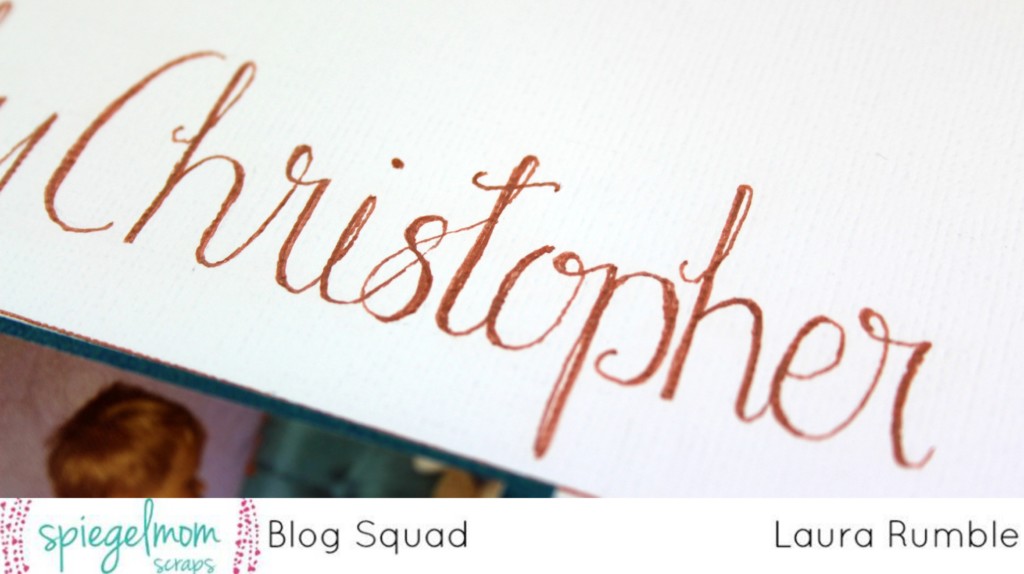
I added the writing after everything else was finished. I always forget how nerve-wracking it is writing directly onto a layout!! My tip is to sketch it out very lightly in pencil and wait over night for the ink to dry before erasing the lines. Also write confidently (I find going too slowly makes me more likely to wobble) and move your wrist along the paper (if my wrist is not comfortable the writing won't be fluent.)
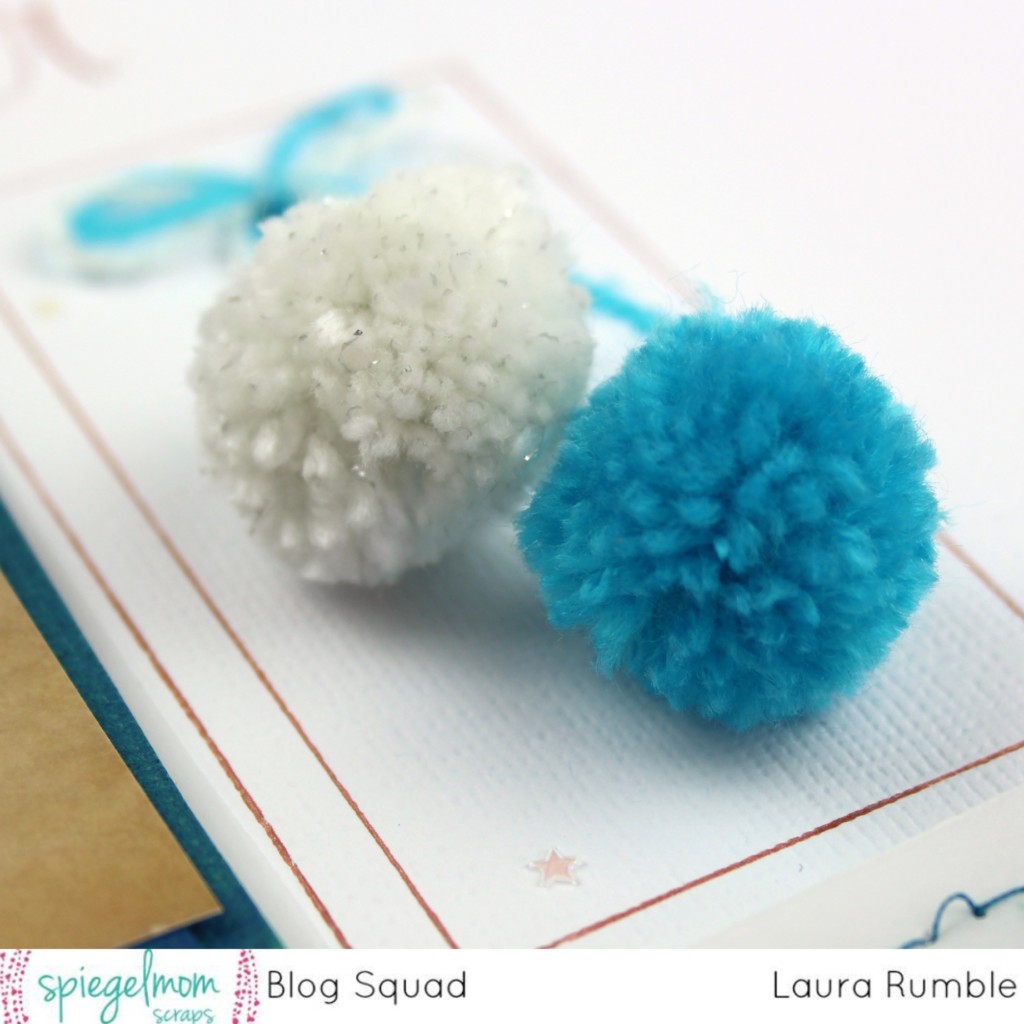
I'm so pleased with the texture the pompoms give. I'm not sure how this will work in an album - it might be one for a box frame.
Thanks for stopping by. I hope you'll join us over on the facebook group for Hannah's challenge.
Hi Laura, What a fab LO. Love the colours.
ReplyDeleteHope you are enjoying the weekend. Sue