
Traveller's Notebook


Here is my first DT project for Pretty My Page.  PMP specialise in cut files - both pre-cut for those without machines and digital.  They also stock a large range of mixed media items and are adding new items regularly.


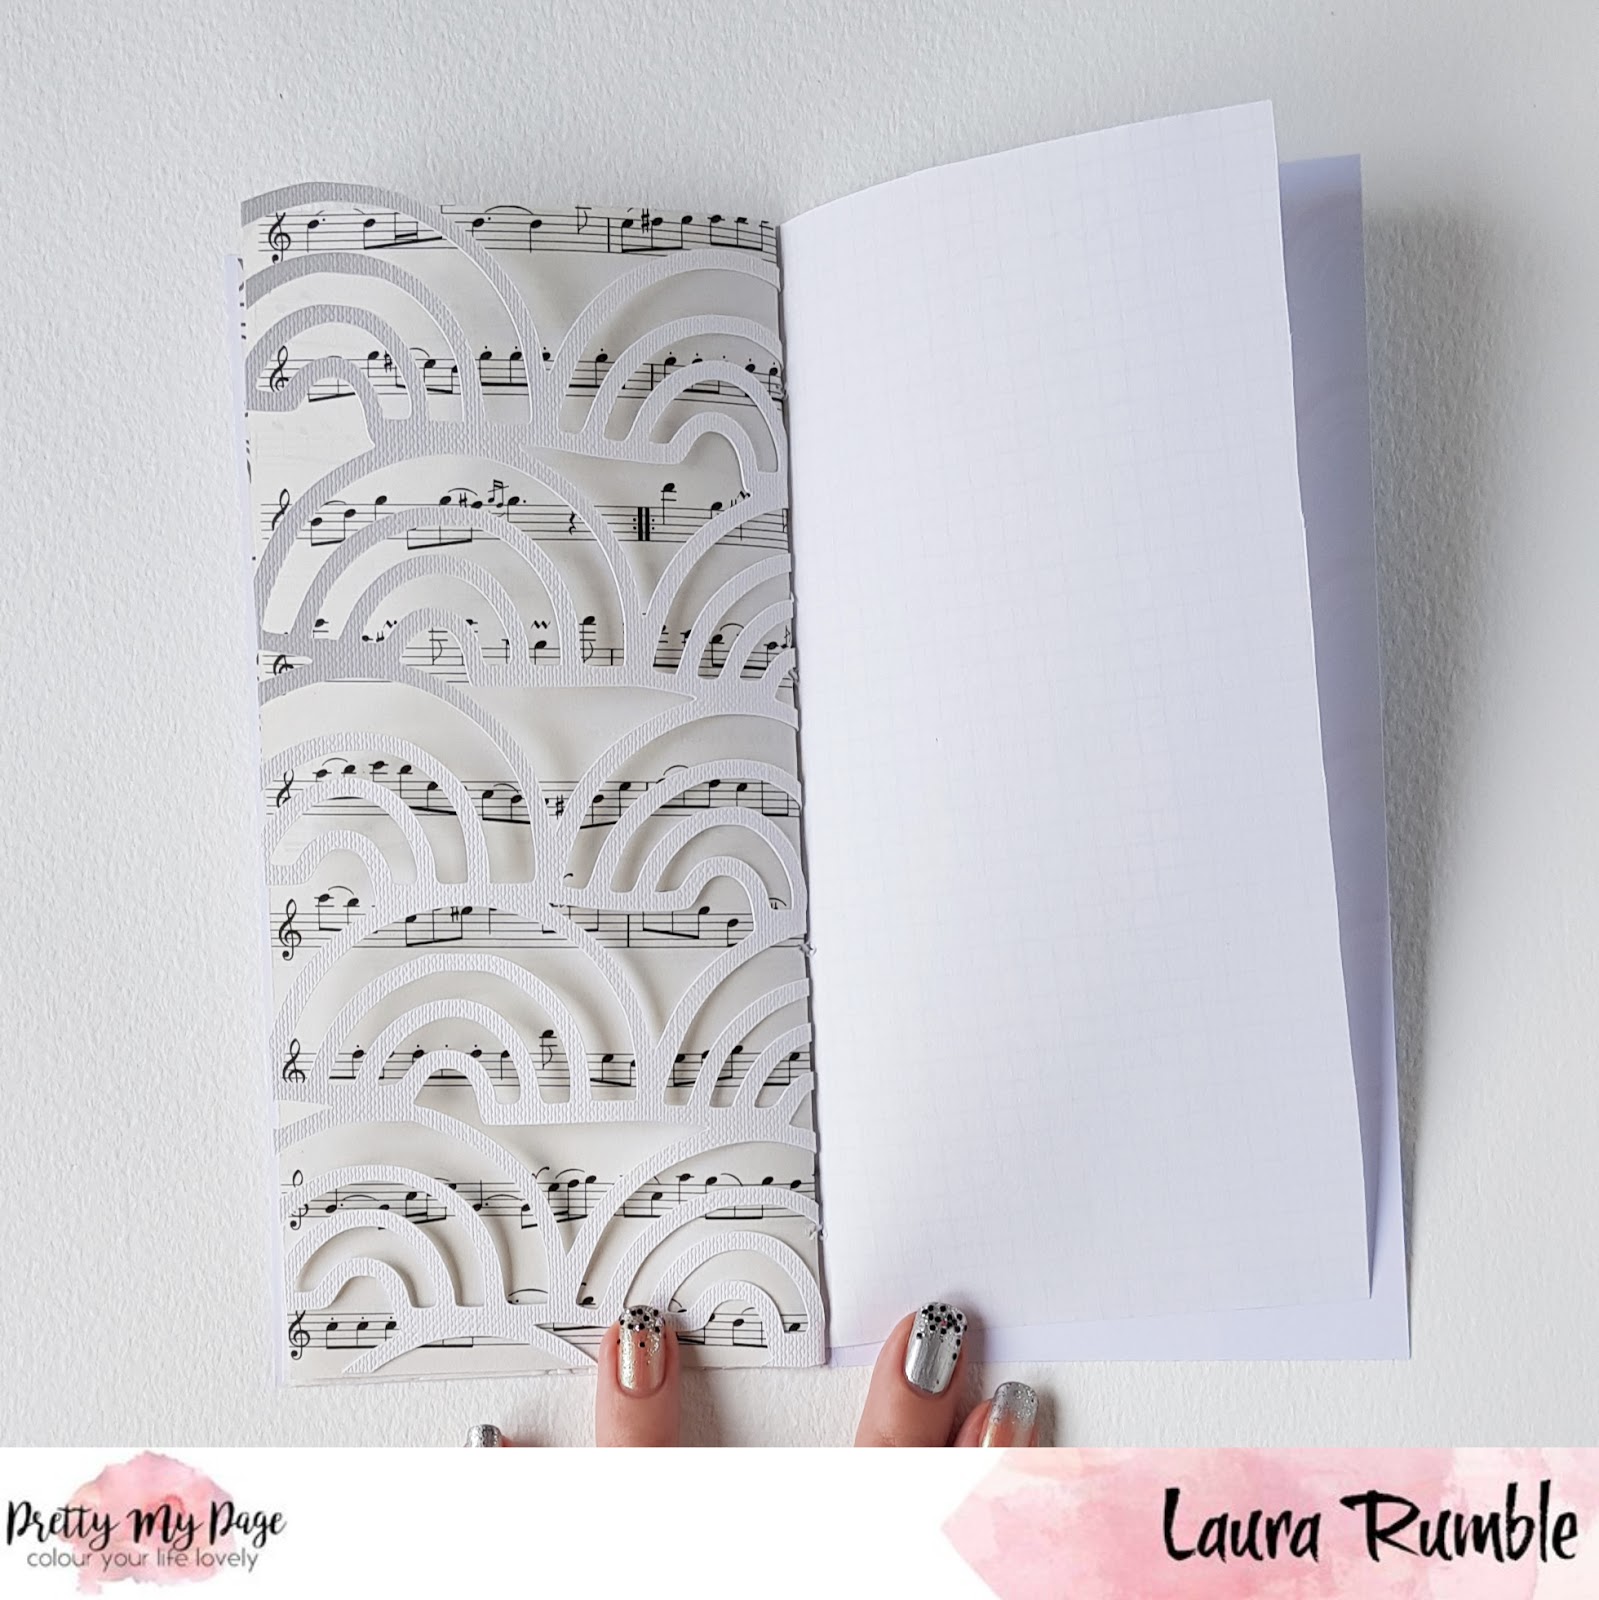
I've had an urge to make a Traveller's Notebook for a while but one with a twist.  I fancied odd pages, different shapes and textures - a bit like a junk journal but TN size.  Most of all I wanted some seethrough layers so I could have parts of pages peeking through.  Step up the Doodled Rainbow Mesh cut file.  The 12x12 pre-cut file was too big but I just trimmed it down to size.  The piece that was cut off will make it on to a layout fairly soon I'm sure! 


A few of the other pages are pieces from the Layering Pack.  This pack includes dictionary pages, sheet music, doilies and glassine bags along with some real treasures like old collecting cards and postcards.


Here's the process video so you can watch it come together. 


and stay tuned as I hope to be sharing some completed pages soon!


Comments

Popular posts from this blog

New Home Card

I keep discovering new challenge blogs.  Today's gem of a find is Case Study Challenge.  This weeks inspiration is by Laura Bassen: and the first thing that struck me was the colourway, it is beautiful. So I set to work all inspired and came up with this... I ran with the theme of houses and hearts but reversed them and stuck to the colours as much as I could. I used silicone glue to attach the hearts to the card to give dimension. A bit of garden twine - I love this because it so rustic.  I much prefer it to bakers twine which seems much softer and smoother.  Hand wrote 'New Home' in brown. I don't have a die cutting machine so I worked out my hearts and houses with a pencil, ruler and craft knife. I distress them a bit by dry brushing paint over them and roughing the edges a little. I'm not sure if I'm happy with this card to be honest with you.  I love the inspiration card so much and don't think mine quite matches up.  My colours are

DMIO: Teach Me Something

A few weeks back I made a dream catcher.  A few readers asked if I could show them how I made it, so, here is my attempt at a tutorial! First up weaving the web. 1. You'll need a hoop and some ribbon/thread/yarn on a bobbin. 2. Attach the ribbon securely to your hoop. 3. Take your ribbon over the top of the hoop... 4. and up through the loop you've just made with the ribbon... 5. so you have a cross over. 6. Continue steps 3-5 until you reach the knot. 7. Now instead of going over the hoop you will crossover the ribbon 8. and through the loop you've just made to give a crossover. Continue on in this fashion until you get to the middle. You need to leave a hole in the middle as this is where the good dreams get through!  They then run down the tassels/feathers/any other hanging decoration and on to the owner.  It should look something like this.  You'll need to play around with your tension until you get a firm web. Now for the tassels - I like to

Life | M.E. Awareness

  I've been away for a while (bar the previous post) and have been really struggling for a while.  Well, a few years really.  I recently felt moved to share and write an 'essay' for M.E. Awareness which is coming up next month.  As it has been shared already I thought I'd add it here too.  I know my blog doesn't get hits galore but I look at more like a record for me and this needs to go on my record.   “ME/CFS Awareness Day, May 12, is fast approaching, and I am inviting all ME/CFS sufferers to participate in a collective creative action that we will share with the greater community!   Simply create a beautiful sign/image in your own artistic style/chosen medium with a simple statement to the question "what’s the first or most important thing you would do if you were well again today?" - then take a photo of you holding it.”   Simply?   Simply.   Simply say what I would do first, if I was well.   I don’t know.   Now I wish I hadn’t read this