Here's a little update on my circle creations over the last few weeks. You can read about the concept here.
So, the layout I was fired up to create at the beginning of the month, the one based on the sketch I shared, is still unmade. No matter though, as this was a no pressure, no deadline, playtime kind of project. I have created a few other things...

This layout uses a folded cut file, which is something I want to explore further throughout the year. I cut half a shape essentially, just one line, then score between the beginning and end of that line and fold it back. When you cut a file like this on double-sided patterned paper you end up with both sides showing. This is both good - because it looks great; and restrictive - because you have to have the right kind of pattern on both sides. (For example a cut-apart sheet on one side would not give the effect I am after.) Perhaps it was trickier for me as my double-sided paper stash is limited as I tend to use solid cardstock and 6x6 pads now, and a lot of my patterned paper remaining from 12x12 kits are no longer whole sheets.
This is an old Elle's Studio paper, old alpha stickers from Pinkfresh, Jillibean and Cocoa Vanilla, and a gull from Heffy Doodle's You Go Gull stamp set.

This layout utilises one stamp from an Alex Syberia Designs set. I stamped it multiple times in loads of ink colours and lined them up for a grid like design. I think it has a lot of impact. When die cutting this number of pieces I like to plan ahead. For a month or so everytime I die cut anything I'd put the circle die and a scrap of white card through at the same time. I didn't see the sense of doing 60-ish passes through the machine with just this one small die. Similarly with the stamping I didn't see the point in getting out 30-ish inks and only inking up a couple of tiny circles. I made a jig that held 5 tiny die cuts close together and inked up all the stamps at once. I have a plentiful stash of coloured hearts ready to use in the future.
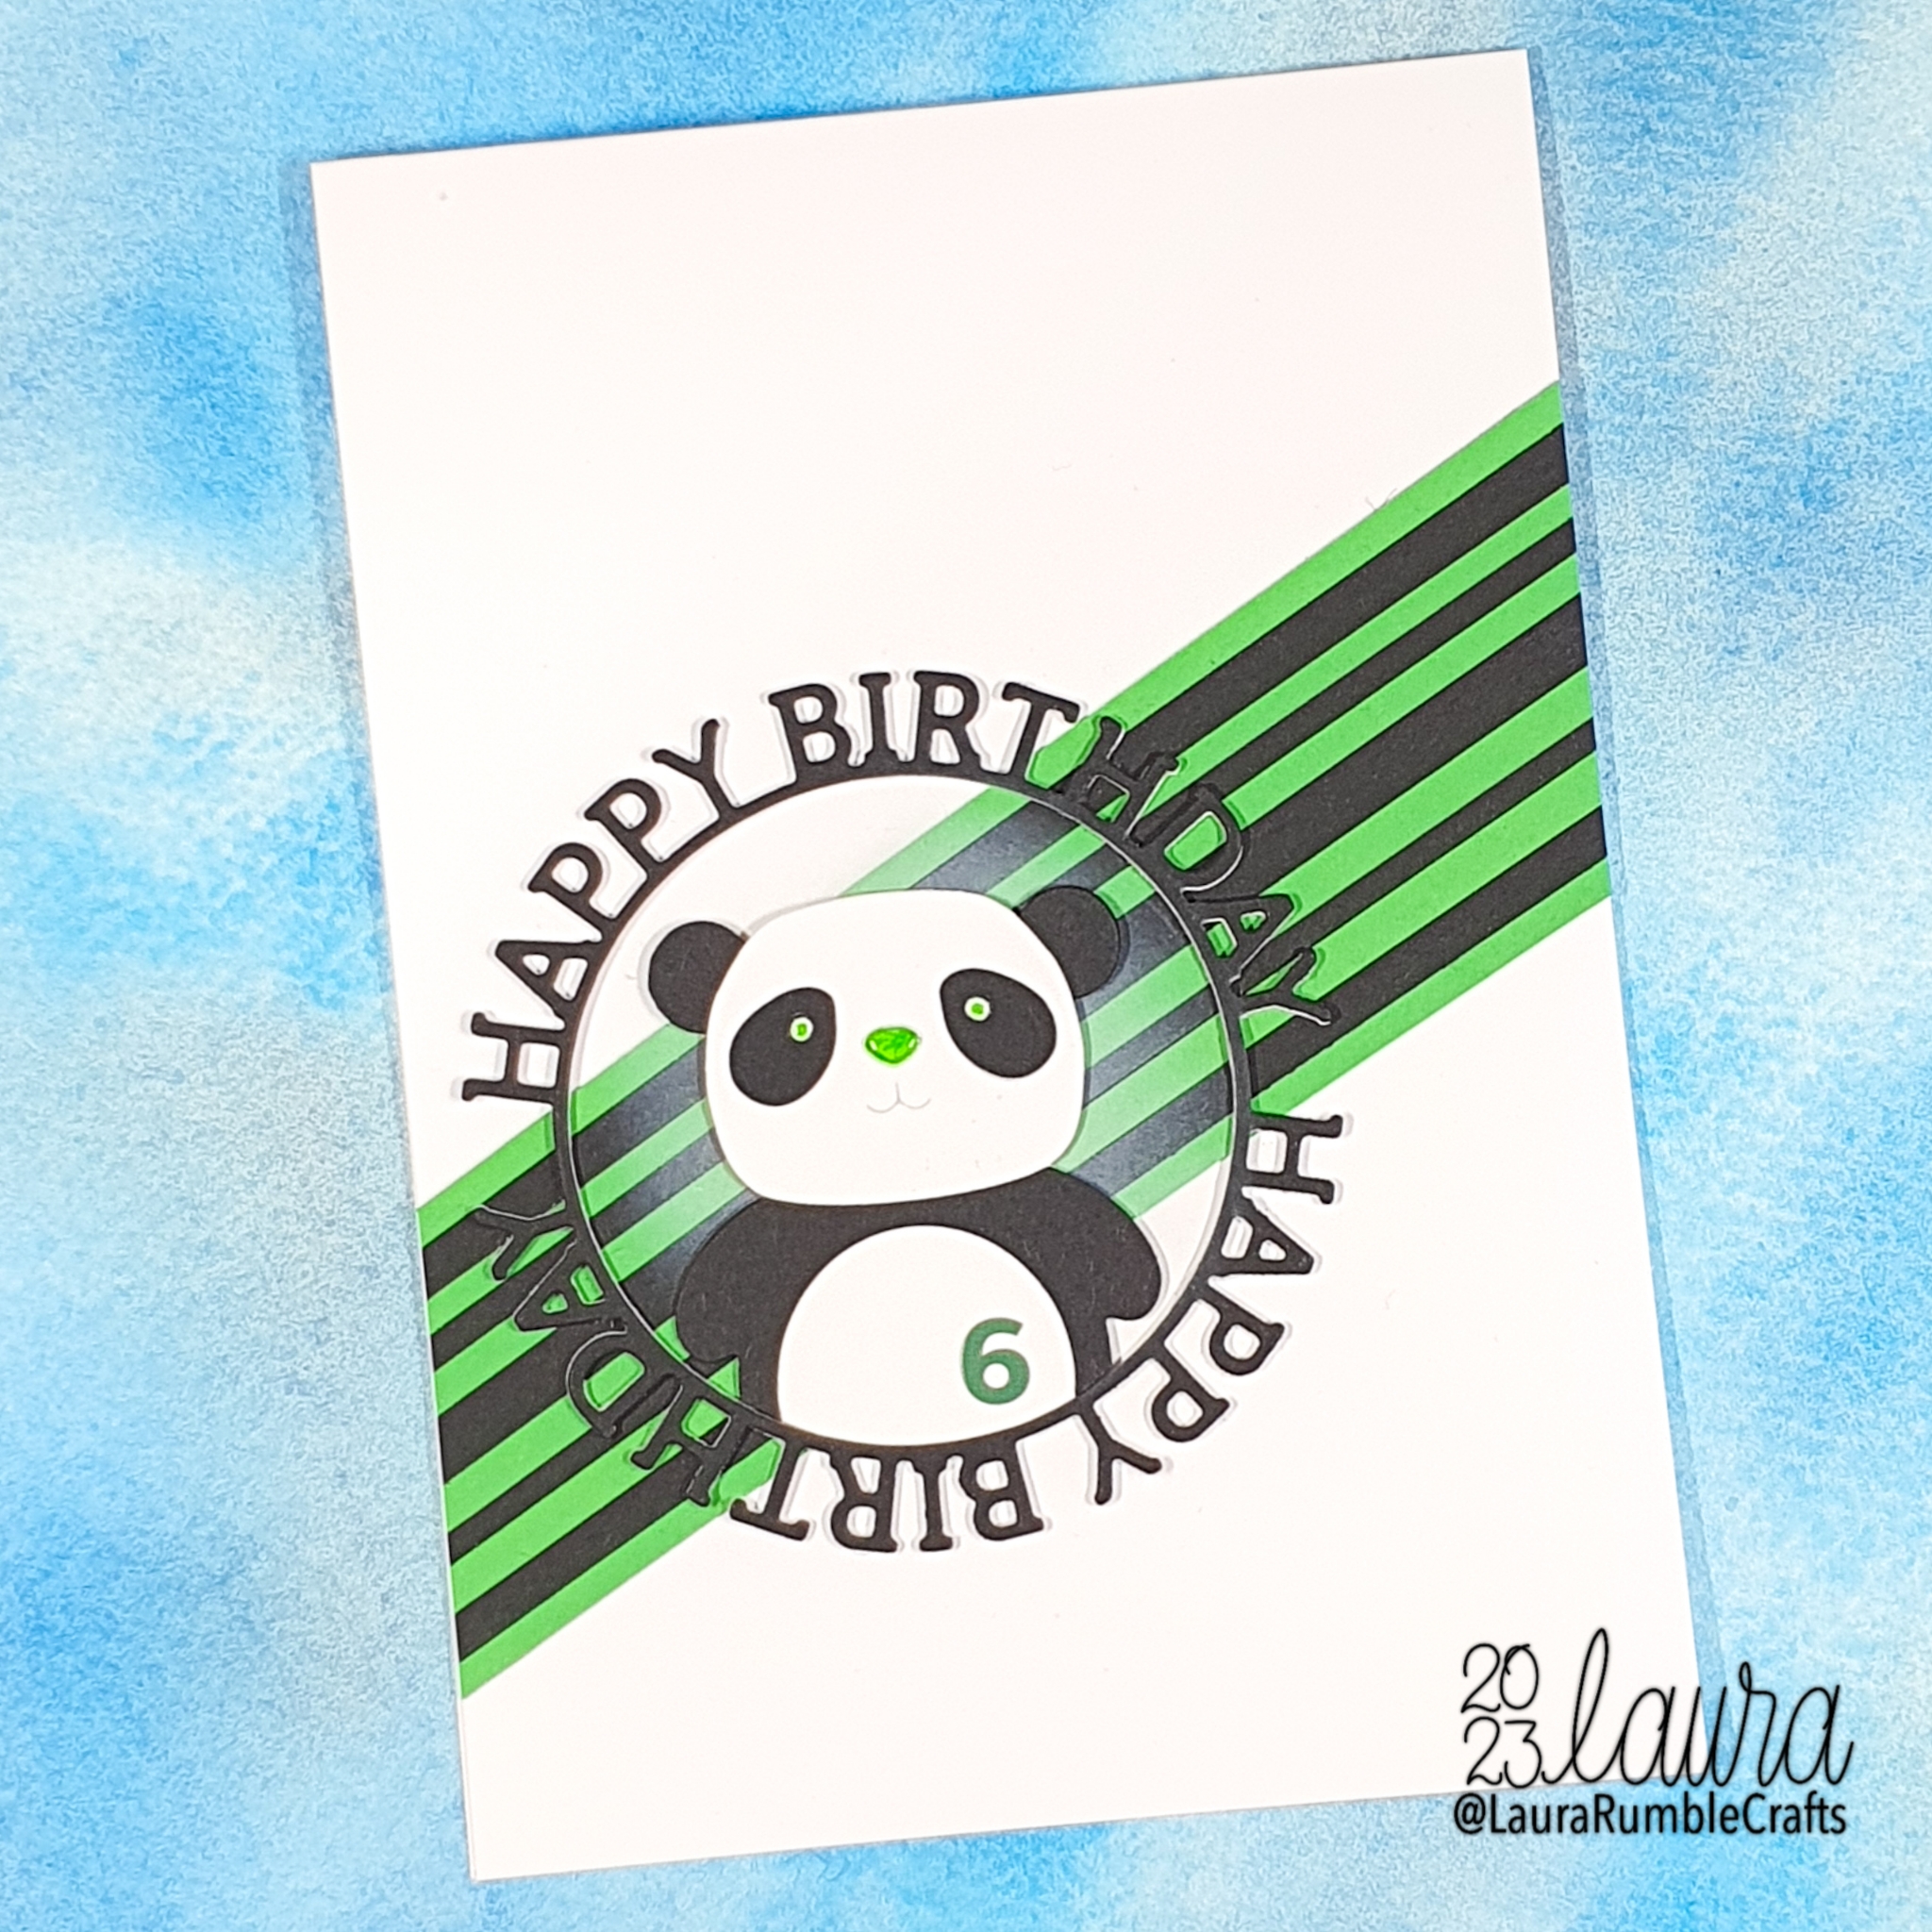
A couple of cards also featured circles in their designs. Maybe not as circle-centric as I had thought but maybe I don’t need to go all in for every creation. Incorporating my featured shapes subtly is still valid. The panda and birthday dies are from Simon Says Stamp.

The layering stencils are from Pretty Pink Posh and the circle frame die is from Heffy Doodle.
I'll be back with more at some point. I really do want to create based on the sketches I shared in the first post but I'll see where things take me. I may end up stamping one thing 60 times again!! If you are interested in more photos and close ups you can pop over to my instagram account. If you have any questions just leave me a comment here or drop me a message on instagram or via email.
Comments
Post a Comment
Thank you for taking the time to comment.
I love to read your messages...