
White Pond Mini Album


*warning - post loaded with scrummy photos!*

To say I have been slow this month would be totally fair.  Here is only my second project made with my counterfeit kit for October...


I'd like to think it was worth the wait though...


It is a mini album about the farm we holiday on.


It's packed with the yummy colours from the kit, plenty of ribbon and lace...


and a sprinkling of washi and buttons.


I used my sewing machine quite a lot.


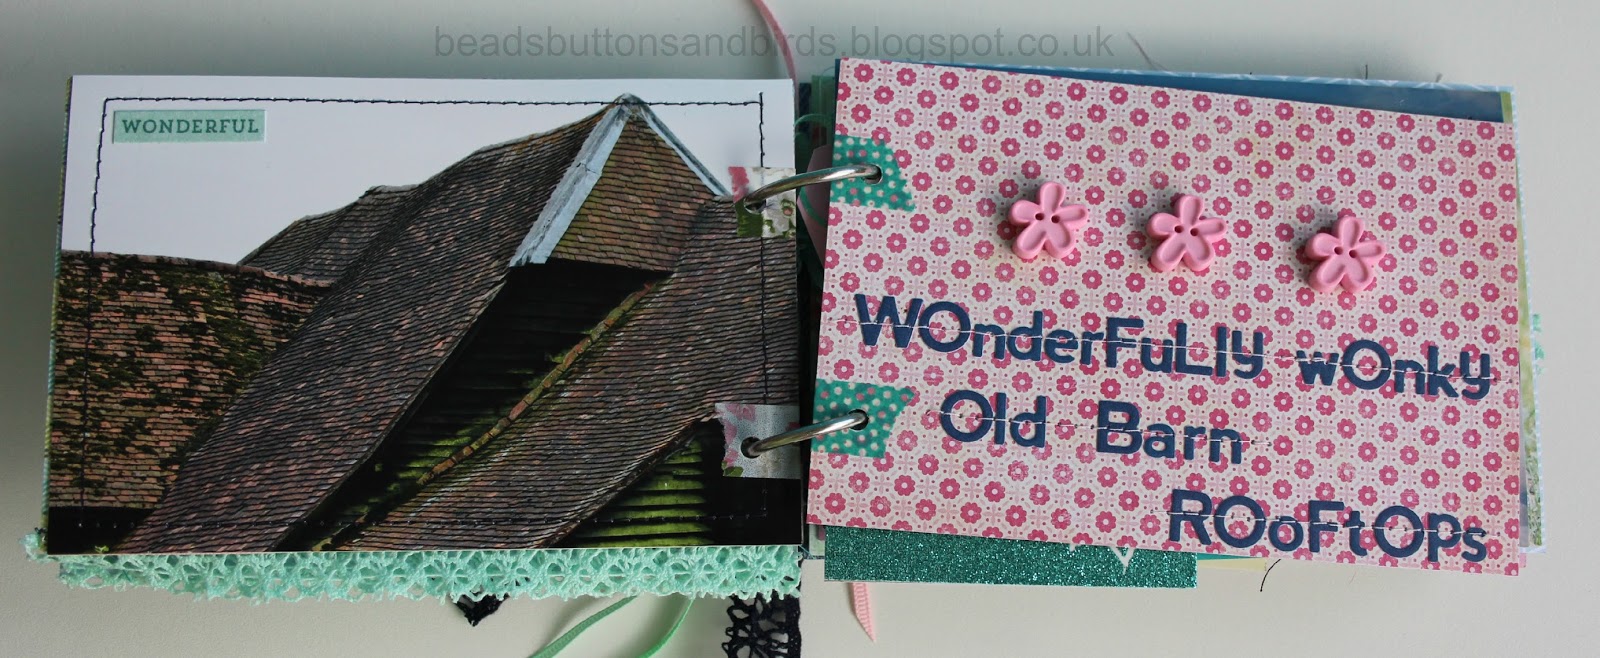
And eeked out my alphas to say exactly what I wanted to say.  (Thank goodness for zeros!)


These alphas are not very sticky so sewing through them is kind of necessary!


Flower buttons from my pink button box - I'd forgotten I had these mixed in with all the other pale pink buttons.


I love adding little extra 'pages' of different sizes.


Trying really hard to use up all of the stickers I added to my kit this month...


I reinforced the holes for the binding rings with bits of washi.  It's not necessary on all of them but I liked it!


I love the cow paper!


And another mini page - this time a tag with stickers


Close up of cow paper!!  Seriously one of my all time favourite papers!


This time the extra page is vellum...


The chickens find the oddest places to make themselves comfortable!


Are these tags too tiny to be classed as an extra page?!


I love the little hit of gold.


The puppy I love the most!


and lace!  I love that too!  :)


Tags and receipts from holiday shopping...


 And a paper bag from my favourite patisserie!


 A clear wallet covered in metallic leaf.


Holding a cool beer bottle lid and some rusted metal found in the farm yard.


Some more flower buttons.


Denim paper from the 1990's!


The back cover


A side shot with all the lace and ribbon...


and finally a shot showing how chunky the album is.

I had so much fun making this album.  Even though I was really poorly and it took me ages there is still something really satisfying in making a mini album from scratch.


Comments

  1. What a fabby album.

    Hope you've had a good day and are looking forward to the weekend. Sue

    ReplyDelete
  2. I adore this! What a fab place to get away to - simple pleasures!
    You are quite inspiring in your perseverance to create beauty in spite of difficult days :-)
    Loved the little hits of washi, esp as reinforcements! Clever
    Your photos are incredible as well. WELL DONE!

    ReplyDelete
  3. Seriously great mini!! Love the washi-enforced holes... your stitching details.. the cute buttons... the little tags tucked in. Awesome stuff!

    ReplyDelete
  4. This is really great. Love all that stitching.

    ReplyDelete
  5. You had me with the sewn on Thickers! What a wonderful mini...that I'm sure was a BIG project.

    ReplyDelete
  6. Wow! That is some album :) Love it ! All the lace, ribbon and stitching looks great

    ReplyDelete
  7. Love your mini, and I know it is even better in person, with all of the lovely textures you added!

    ReplyDelete
  8. I don't do minis enough and this is a great one! I adore the colours you used and all that stitching really adds something special. The cow paper is amazing!

    ReplyDelete

Post a Comment

Thank you for taking the time to comment.
I love to read your messages...

Popular posts from this blog

WOYWW 159

Hello, Happy Whats On Your Workdesk Wednesday !  As promised a picture of last Wednesdays 'work' finished off.  Post and more photos here . This week I'm showing off the beaded ATC I made... Tricky to photograph so your getting one with flash and one without... It was all parcelled up and sent off to Queen of Desks Julia .  Here is a basic of how it was made... (lots of waffle about wefts and warps!) I use a flexible beading needle.  It is mainly 'eye' so it is very easy to thread. And delica beads which are more regular and accurate than the better known seed bead.  They are slightly more rectangular than round so they line up better. Thread your needle with the weft thread.  (The cross ways thread that weaves back and forth.)  Pick up the beads... Pass the needlefull of beads underneath the warp (tight length ways) threads on the loom... ...and push each bead up in the corresponding g

Hoppity!

Hoppity hoppity!!  :) Hopeful you have arrived here from Fleur 's blog as part of the Crafty Ribbons Easter Hop .  If not and you've found yourself here wondering what on earth I'm on about (and let’s face it J you wouldn’t be the first!!) check out the Inspirations site for all the juicy details! My project for the hop is         Easter bunting!  I cut three templates first - a triangle pennant, a bird and a heart.        Then I cut the pennant shapes from fibre ribbon, threaded them on to some 3mm satin and evenly spaced them.  I embellished each flag with some beads...       I backed the birds and heart on some thin white card and glued them to the centre of the pennants.   My supplies list: yellow fibre , pink fibre , lime fibre , 3mm satin , button box , white card, glue, beads, needle and thread.   At each stop on the hop there'll be a word to collect and a candy draw. I've got these

WOYWW & Card Deck Swap

First up is my desk ... Hmm.  Perhaps the less said the better!  I really should have a sort out but I fancy desking instead! Next I want to share my card deck swaps (deskers don't have to stay for this bit but I reckon you'd enjoy joining in with us, which is why I'm including it in this post) You can read about the swap here on Jessica's blog and sign up here .  Basically, we take a deck of cards, add paint and/or paper, then add a positive sentiment to each card.  Post them to Jessica who shuffles them and sends back 52 different cards from different artists (yes, you are an artist!) from all over the world. These few are ones I have picked out to display first.  I'll swap them round after a few weeks.  Do you like my domino pegs?  :) Thanks for stopping by.  I hope you'll at least consider joining us for the card swap - it's like a super sized ATC swap, and all WOYWW er's know they are fun! See you at your desk x